Quickstart Guide
This guide is for installing a datagoo with hardware and firmware preinstalled. It details the steps for configuring and attaching the datagoo to a power supply, so that it is ready to send text notifications.
Required Materials
- Datagoo
- Current clamp
- Small philips screwdriver
- USB mini-b charger
- Activated SIM card with SMS plan (minimum 50 SMS per month)
- SD Card (minimum 16 MB)
- AC measurement cord
- Screws for mounting
Installation
Warning
Make sure that all wires are disconnected from the device before removing the cover.
Remove the high voltage cover (may require a small tool) and the two plastic knobs.
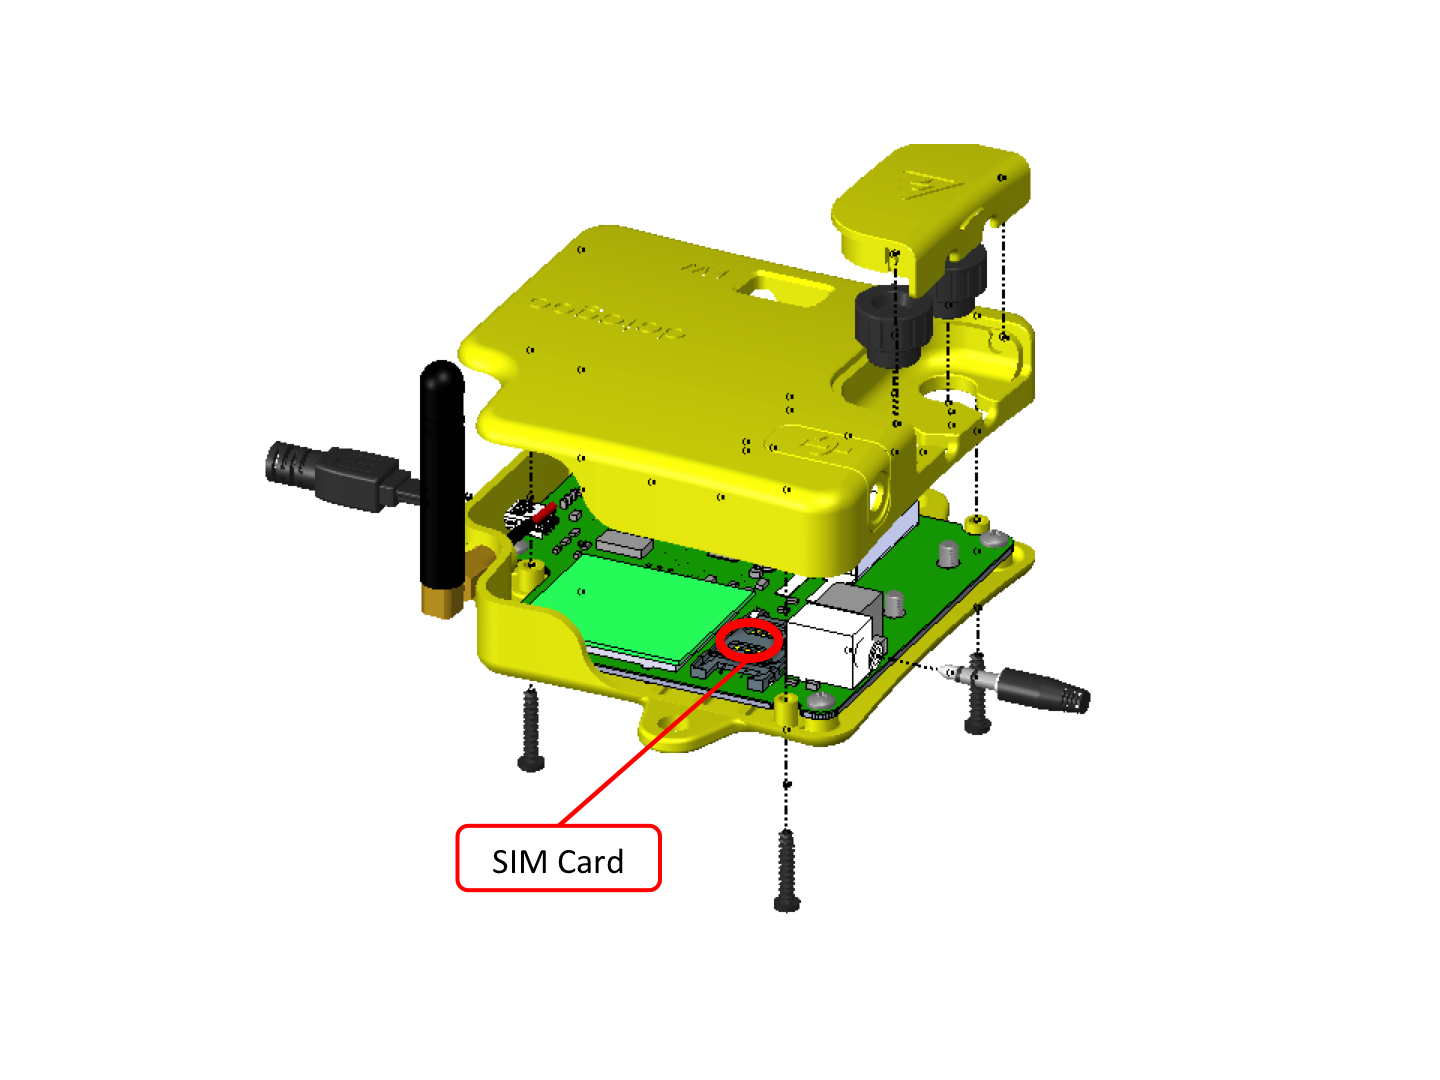
Unscrew the four screws on the bottom of the device and remove the top case.
Place an activated SIM card in the SIM card holder. (Make sure that the SIM card is capable of sending text messages via a normal mobile phone before trying with the Datagoo)
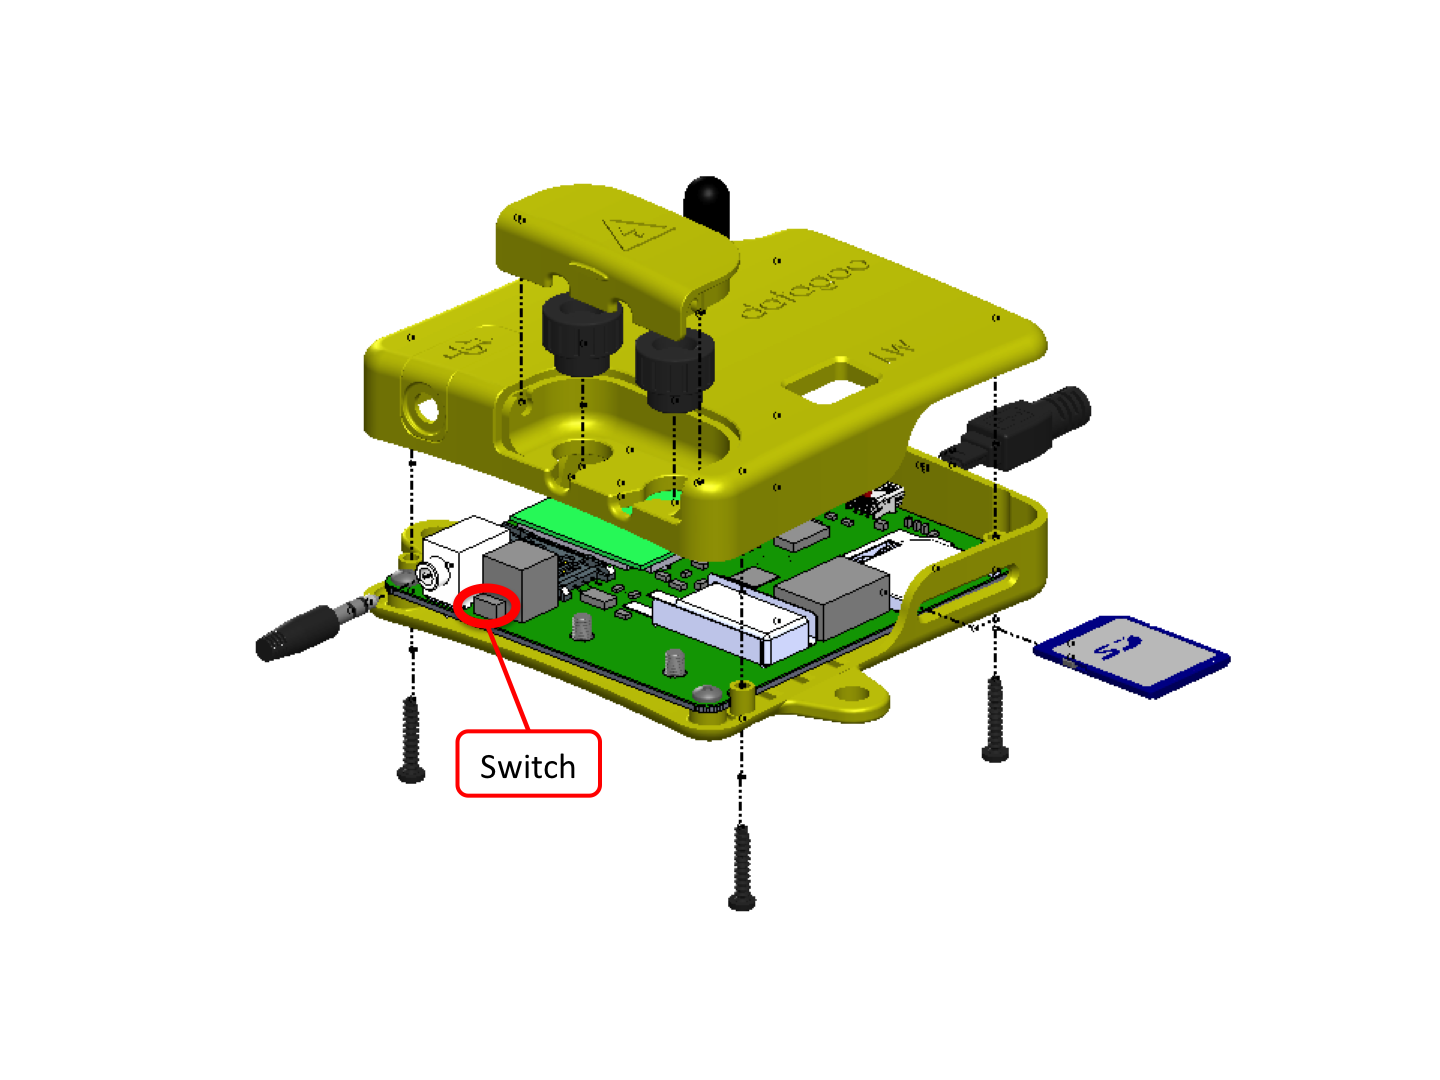
Flip the ON/OFF switch to ON. You should see a small green light turn on.
Put the top back on the device and screw in the four screws. Do not put knobs or high voltage cover back on.
Format an SD card to FAT16. (This is by default for SD cards, but please double check).
Create file CELL.TXT containing the mobile number to notify of power usage statistics and alerts. An example CELL.TXT file:
5731921102Place the SD card in the SD slot.
Plug in USB charger.
Warning
The USB charger should not be a computer. Plugging in the computer USB charger and line voltage to the voltage terminals at the same time will destroy both the datagoo and your computer.
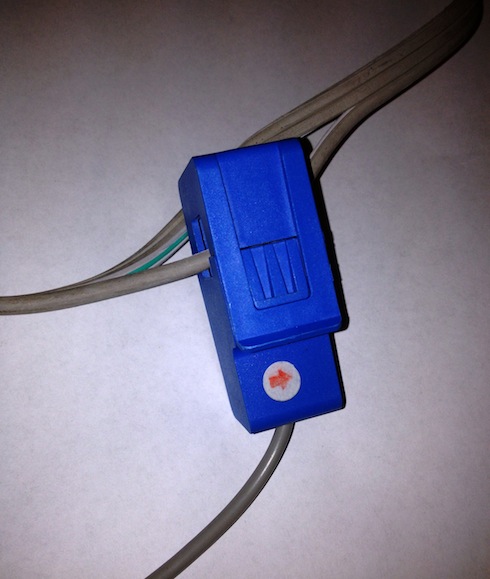
Connect current sensor. The current sensor should be clamped around only one wire.
Warning
Use extreme caution when working with high voltages. Stripping and connecting a live (plugged in) wire may cause electrocution to the user.
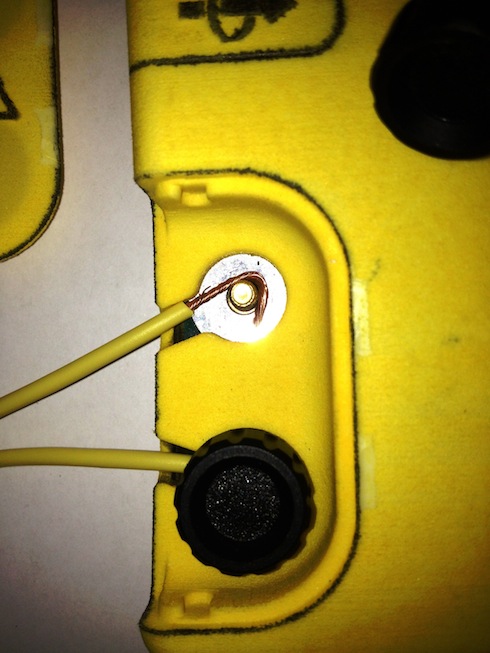
Strip two wires for the AC voltage signal. Make sure it is not plugged in!
Place one wire around the upper screw and screw down the plastic knob. Place the other wire on the lower screw and screw down the plastic knob. Give both wires a quick tug to make sure they are attached properly.
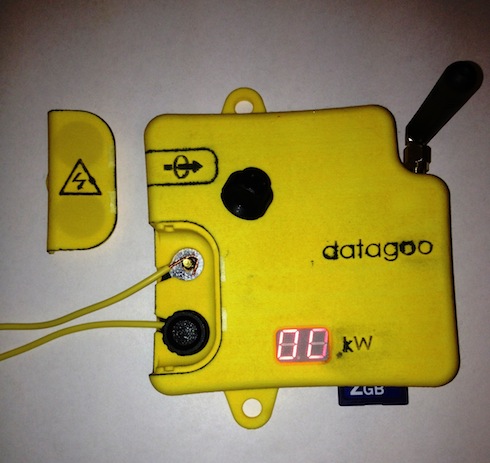
Replace the high voltage cover.
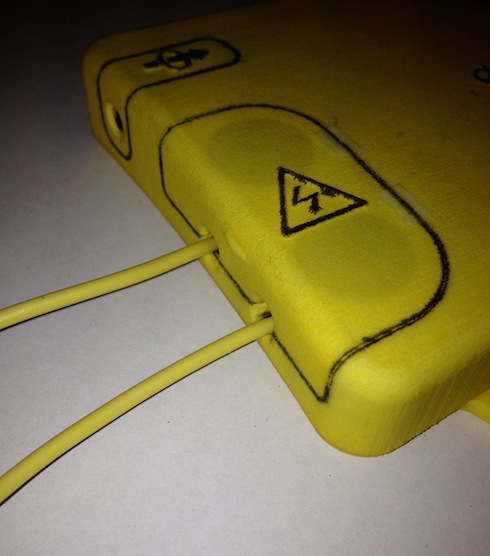
Plug the other end of the voltage wires to the power source.
The red display shows the number of kW currently being generated.
You’re ready to go!